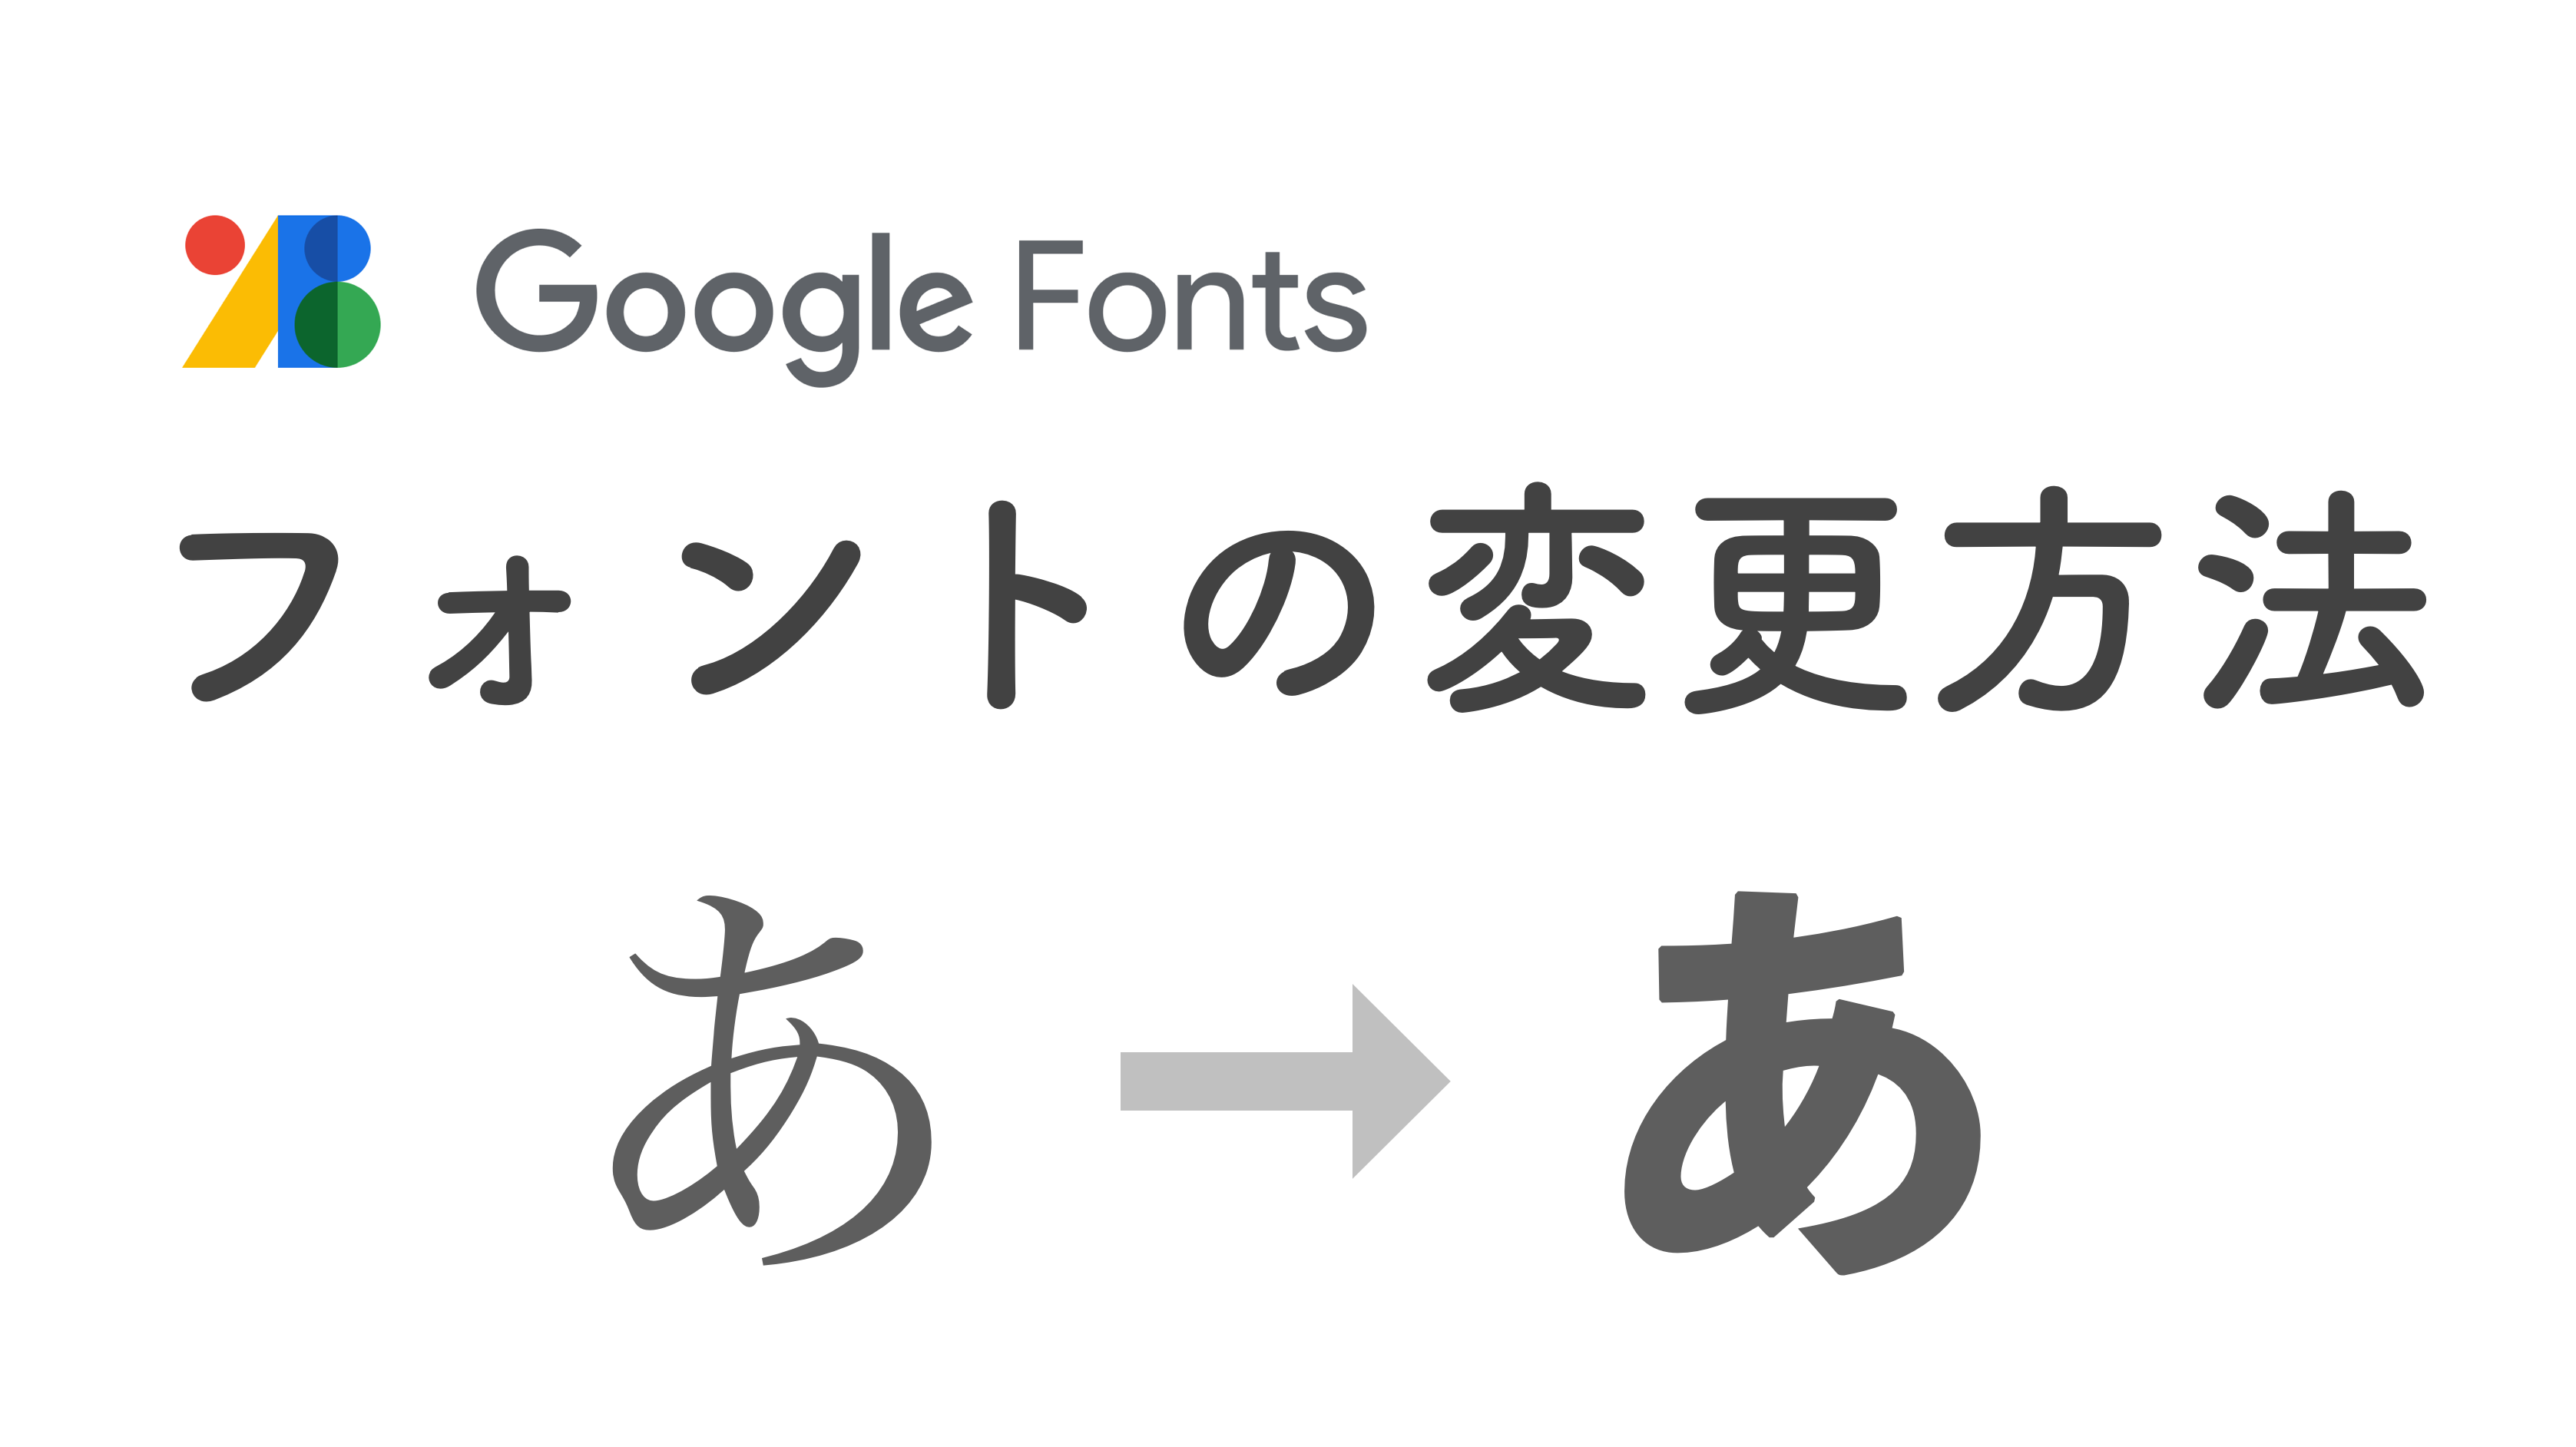
WebサイトのフォントはCSSに2行追加するだけで簡単に変更できます。
フォントを変更する方法とおすすめの日本語フォントを3つ紹介します。
サイトの印象がガラッと変えることができますので、是非お試しください。
フォントの変更方法
①CSSファイルの先頭にフォントのインポートURLを記述します。
②CSS指定したい要素にfont-familyを指定します。
See the Pen Untitled by asbgm (@asbgm12) on CodePen.
以下のようにbodyタグに適用させることでサイト全体のフォントを一括で変更することができます。
@import url('https://fonts.googleapis.com/css2?family=Zen+Maru+Gothic&display=swap');

body {
	font-family: 'Zen Maru Gothic', sans-serif;
}
フォントの紹介
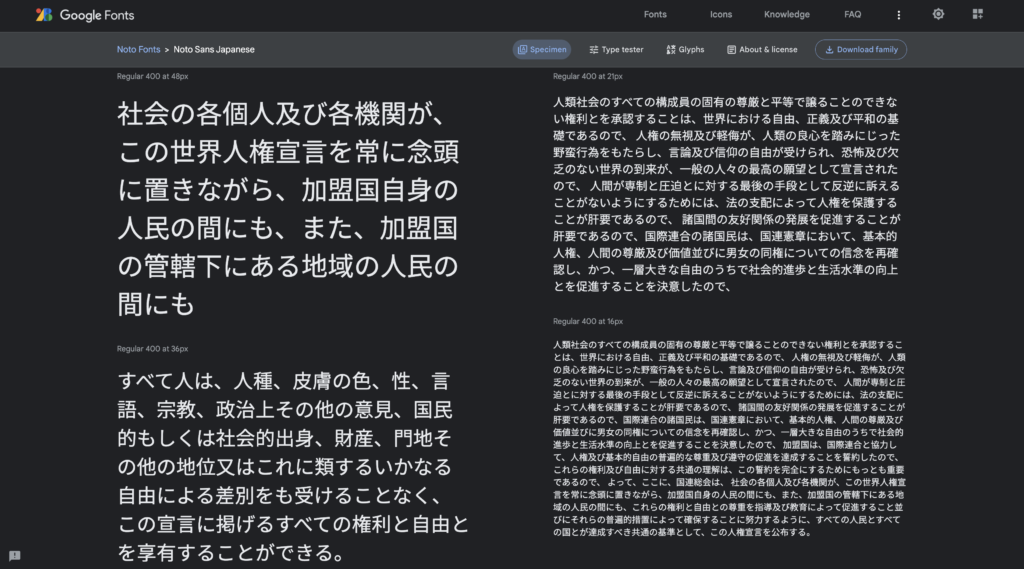
Noto+Sans+JP

@import url('https://fonts.googleapis.com/css2?family=Noto+Sans+JP&display=swap');

body {
	font-family: 'Noto Sans JP', sans-serif;
}
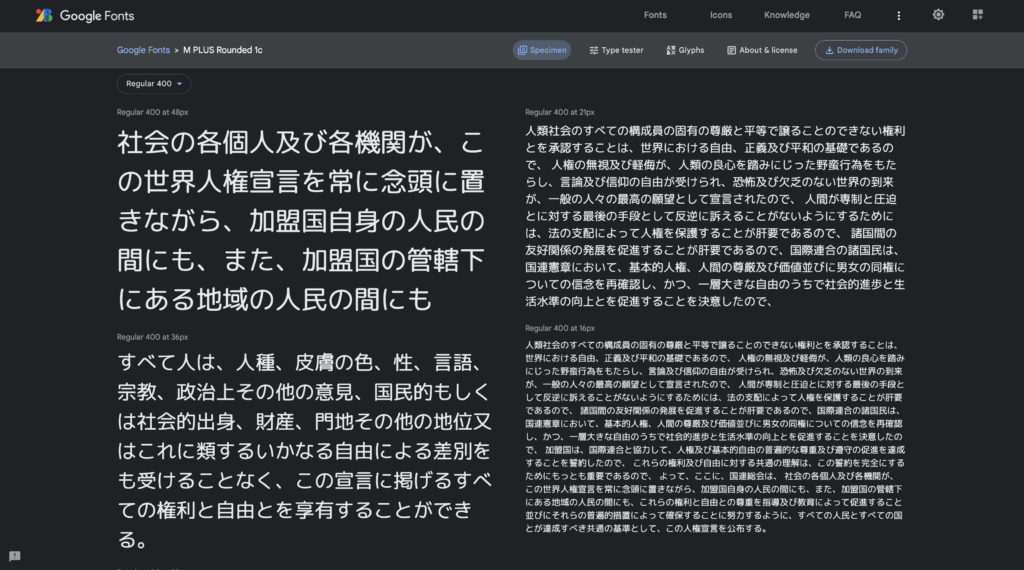
M-PLUS-Rounded-1c

@import url('https://fonts.googleapis.com/css2?family=M+PLUS+Rounded+1c&display=swap');

body {
	font-family: 'M PLUS Rounded 1c', sans-serif;
}
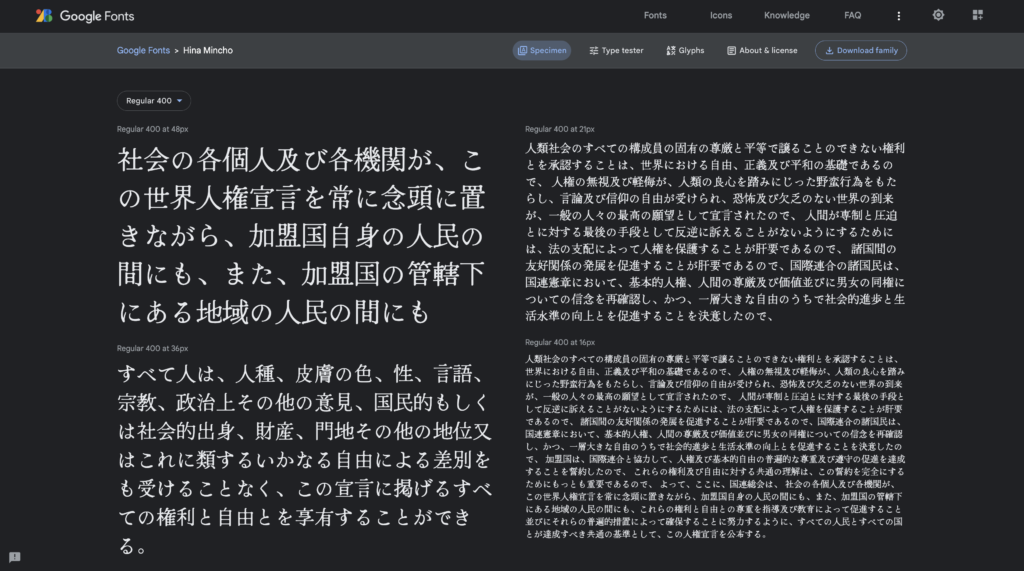
Hina Mincho

@import url('https://fonts.googleapis.com/css2?family=Hina+Mincho&display=swap');

body {
	font-family: 'Hina Mincho', serif;
}
そのほかにもGoogle Fontsには様々なフォントがあります。
詳しくはこちらまで。


コメント